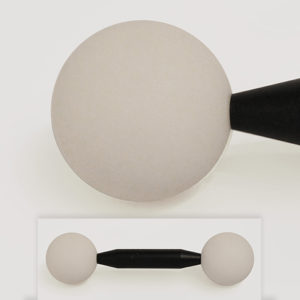
Modern machine tools are using on board probing systems. These systems require an on board probe characterizing monument for top performance. In many cases, the user chooses to rigidly mount the probe characterizing sphere more or less permanently on the machine tool table. This is usually done with a threaded fastener in the Probe Sphere Base and a Tee Nut in the table.
We Offer
We offer a wide variety of probe characterizing spheres for on board applications. This starts with the “Runt”, our part number PM-PB-B75-R. This device is designed to be as short as possible. It has a one and one quarter inch (1.25”) [31.75mm)] diameter base, and an overall height of only 2.09” (53.08mm).
If the Ball Bar is to be used as a length standard for the calibration of a Coordinate Measuring Machine, here are several strong suggestions to make:
1. The length of the Ball Bar must be calibrated frequently.
2. The Ball Bar should be kinematically supported out toward the ends
3. The same kinematic support system should be used during the calibration operation as when the Ball Bar is in use.
4. The rotational position of the Ball Bar in the Kinematic coupling must be maintained during both calibration and use. The rotational position of the Ball Bar is typically clocked with a kinematic couple. This usually consists of two precision cylinders that are crossed at 90 degrees and are magnetically preloaded.
All of the hardware for this application can be purchased off the shelf, or the component parts can be purchased to build the assemblies to fit your needs. (See Ball Bar clocking in our web catalog).
Kinematic Tooling Components
Any deviation from these procedures will result in substantial errors, in the measured length of the Ball Bar. The ideal design to use for a length calibrated Ball Bar, is our “Cantilever” series. This design uses two auxiliary support balls way out on the end of the Ball Bar.

